Intro to MQTT-Spy
MQTT-Spy is a very useful software to connect and debug with your devices, credentials, topics, etc.
It provides a easy to use testing panel where you can have several sessions opened with different users, subscriptions, so you can test your MQTT interations (consumers, producers, publishers, etc).
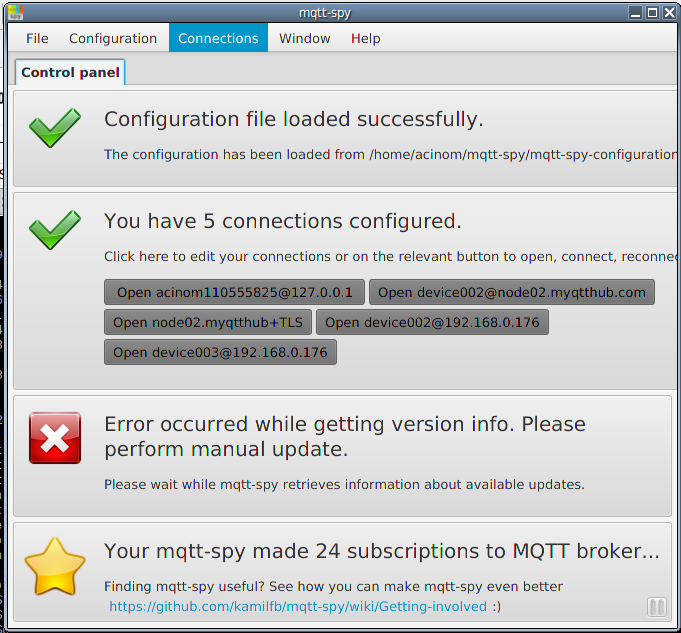
Main application panel (welcome):
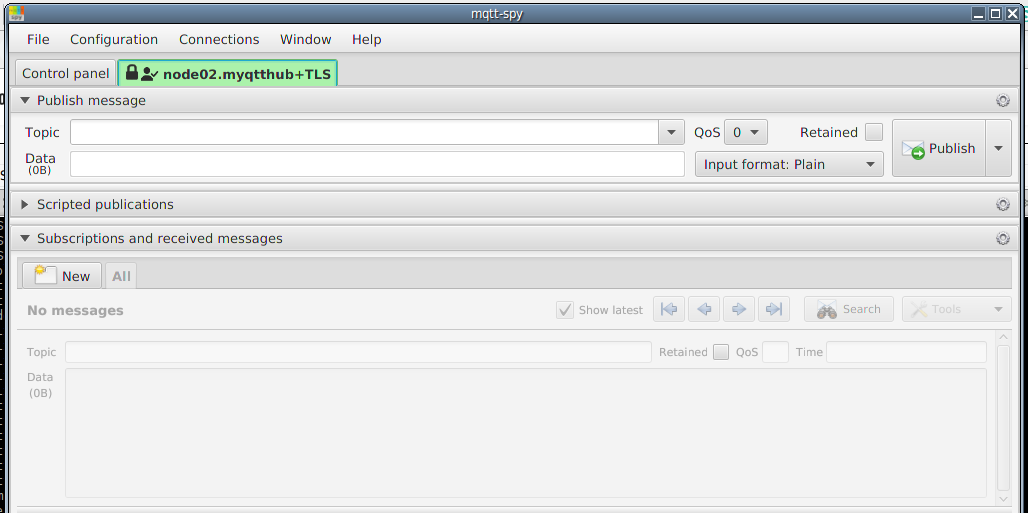
Connection panel (for a single account, tab-design):
How to install MQTT-Spy
- Download MQTT-Spy from https://github.com/eclipse/paho.mqtt-spy/wiki/Downloads (its a JAR file: java archive). Both versions will do 1.0.0 and 0.5.4 (as of this writting).
- Then run the software with:
java -jar mqtt-spy-0.5.4-jar-with-dependencies.jar
Note: if it fails with some of the following errors, check your java installation to use the VM provided by Oracle (for example, it is known OpenJDK will fail to start MQTT-Spy):
Error: no se ha encontrado o cargado la clase principal pl.baczkowicz.mqttspy.Main
Error: Could not find or load main class pl.baczkowicz.mqttspy.Main
Connecting your MQTT-Spy with your MyQttHub context/domain
First, be sure you have some credentials created (https://support.asplhosting.com/t/how-to-create-and-manage-your-mqtt-devices-with-myqtthub-com).
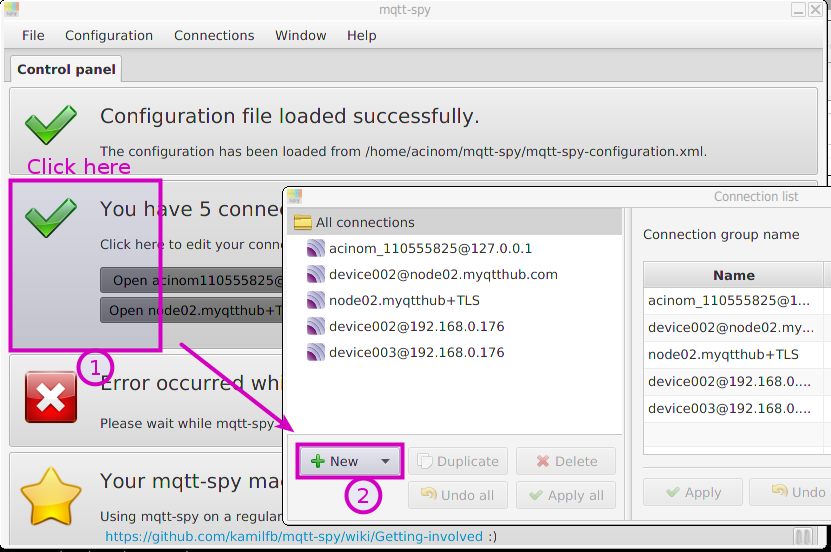
- Then, click to create a new connection as indicated:
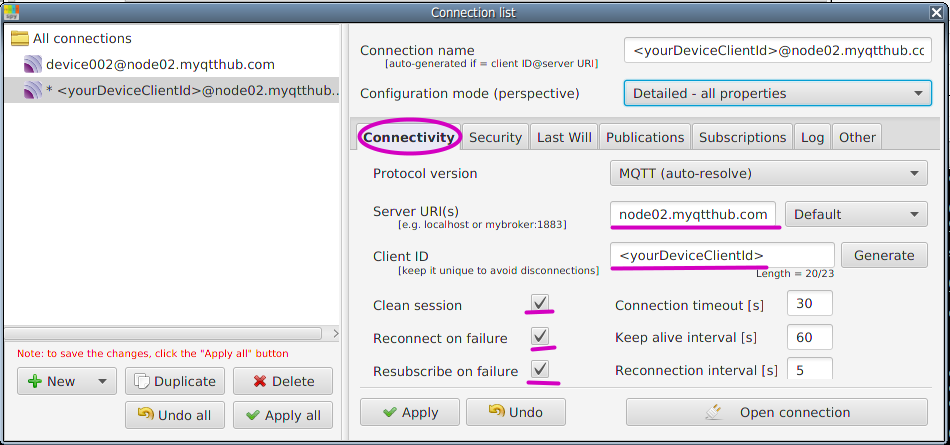
- Define host, default port, clientId, cleanSession and rest of settings indicated:
- Then, define auth credentials to be used:

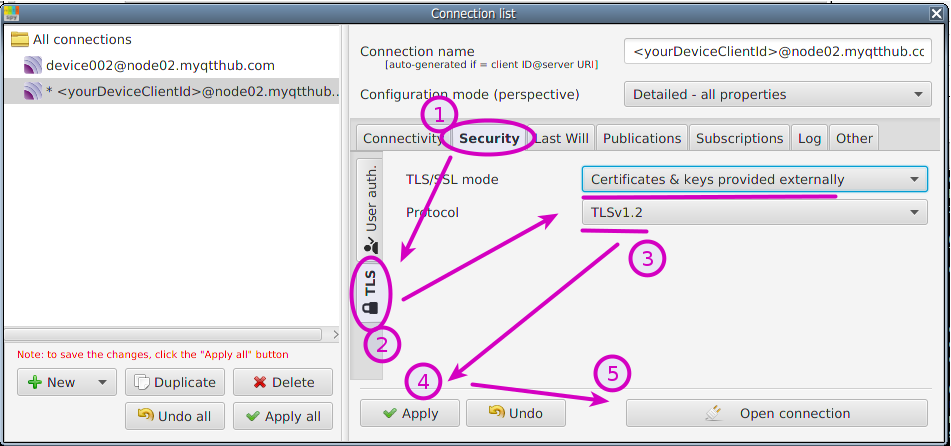
- Enable TLS/SSL for secure communications, apply and open:
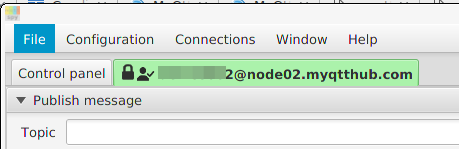
- If everything was ok, you should get a green notification:
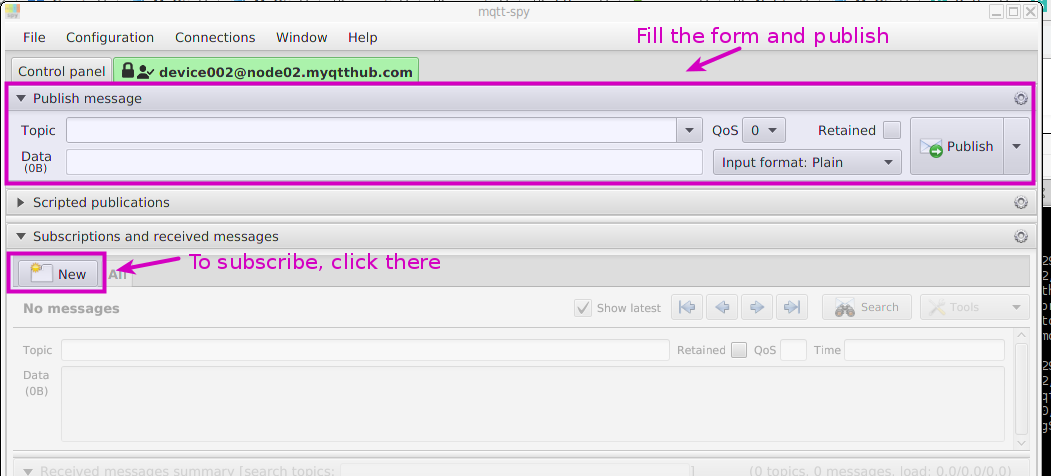
Subscribing and Publishing
MQTT-Spy is very self-describing. To publish, fill requested data. To subscribe, do the same: