Use management panel associated to your account (usually https://node02.myqtthub.com)
You should have received your particular credentials to manage your domain, panel, etc, on service activation through PAS (https://pas.aspl.es).
If you do not have an account, open one with: https://support.asplhosting.com/t/how-to-create-your-myqtthub-com-open-account
-
With these credentials, log into the platform:

-
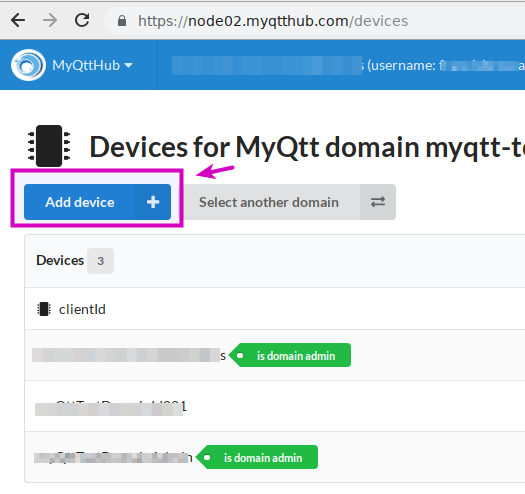
Then click on domain administration and then on “Show Devices” or directly click on “Add devices”:
- After that, input clientid (must be unique), username (can be reused), and password (should not be reused). After that, click on “add device”.
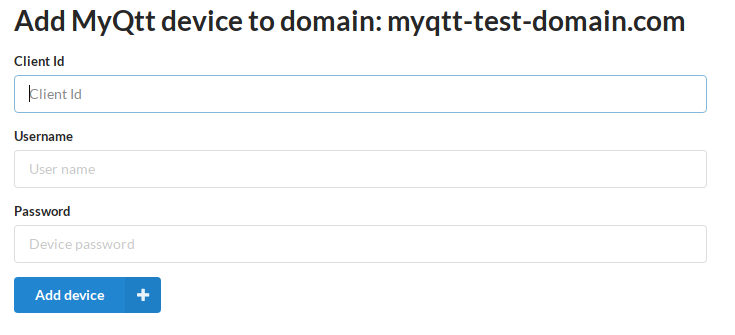
- If everything went ok (no limits reached, clientid collition, etc), your device will be created and you will see it on the device list.
After creating your device, you can click on it to see extended options. Next, follow next indications for: